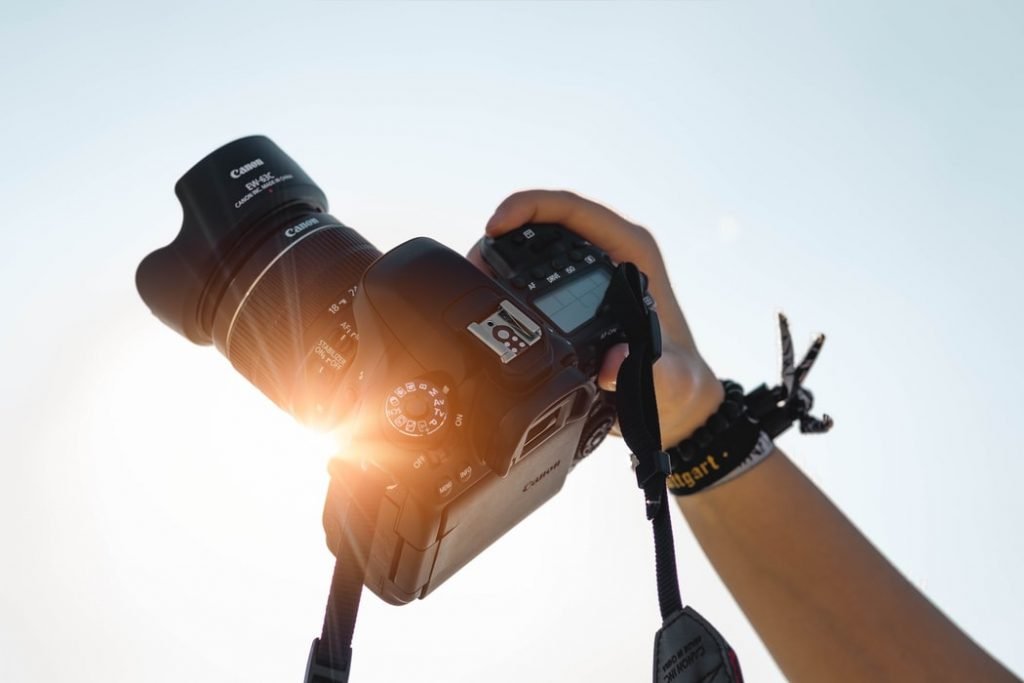
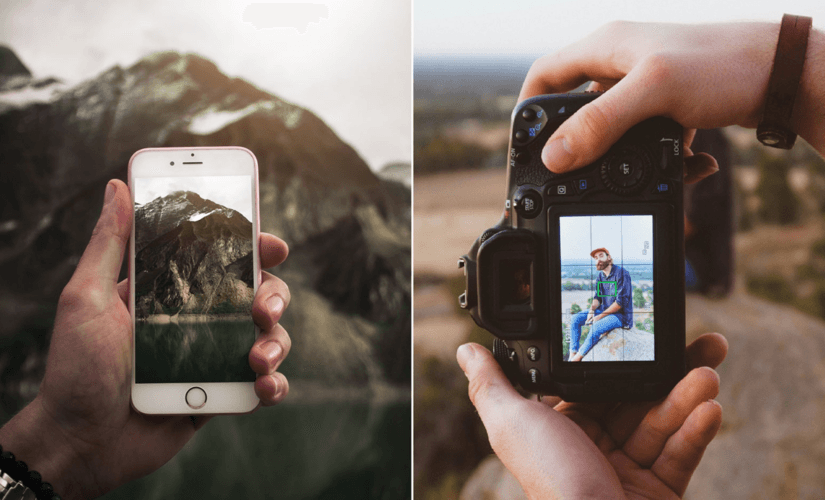
If you have a burning artistic passion then you should definitely take up photography as a creative hobby. Although, you may be skeptical in making such a leap of faith, even if it is unrelated to your profession or otherwise seems too much of a hassle not worth your time.
Photography is the art of creating or recording light that gets translated into images. In other words, you paint a portrait or a picture using nothing but light. Has the definition piqued your interest yet? If not, let’s get into some of the basics of photography and it might not seem as difficult or discouraging.
Let’s start things off with a tiny 5th-grade history lesson. Although it may still be a matter of conflict as to when the first camera was invented, the longest surviving photograph was taken by Nicephore Niepce in France, as early as 1827. Before that cameras were simply used to reflect light on a separate surface which was painted by artists later.
Niepce used an innovative solution that made photo-capture possible by using asphalt on a pewter plate that hardens when exposed to light. He used lavender oil to fix the hardened asphalt on the plate, creating the first-ever photographed image.
Today, it is easy to understand the power behind taking photographs. Pick up a magazine or newspaper from your local stand, scroll on social media, or search something on Google, you will see thousands of photographs used every day. It is the most effective means to influence, express, or capture a moment.
Understanding the Exposure Triangle:
The key to understanding photography is Exposure. Without it, there can be no photograph. This is a phenomenon that takes place inside the camera body. On clicking a picture, you basically open the shutter for a tiny span of time, letting in light that makes a print on the sensor. This print is then processed into the image or photograph you see.
This sudden blast of light can be controlled and adjusted using three elements at the time of exposure; Aperture, Shutter Speed, and ISO. It is the balance between these three elements that make for a good photograph. Mastering the exposure triangle is one of the first challenges faced by a learning photographer.
Remember that a well-lit photograph has a chance of being captured poorly while a poorly lit subject may never look good in the end result. Maintaining a balance between these aspects is the key to capturing outstanding photographs.
Aperture:
The Aperture is basically the lens opening that allows light to pass through and enter your camera. It is the easiest part of your camera to understand. It is quite similar to the working of the human eye, as you will notice when going from a lowly lit area to a highly lit area, the pupils of your eyes would adjust (become wider or narrower) depending on the amount of light you are exposed to.
You can say that the aperture imitates the pupils of a human being. You can either enlarge or shrink your aperture to allow more or less light to enter the camera.
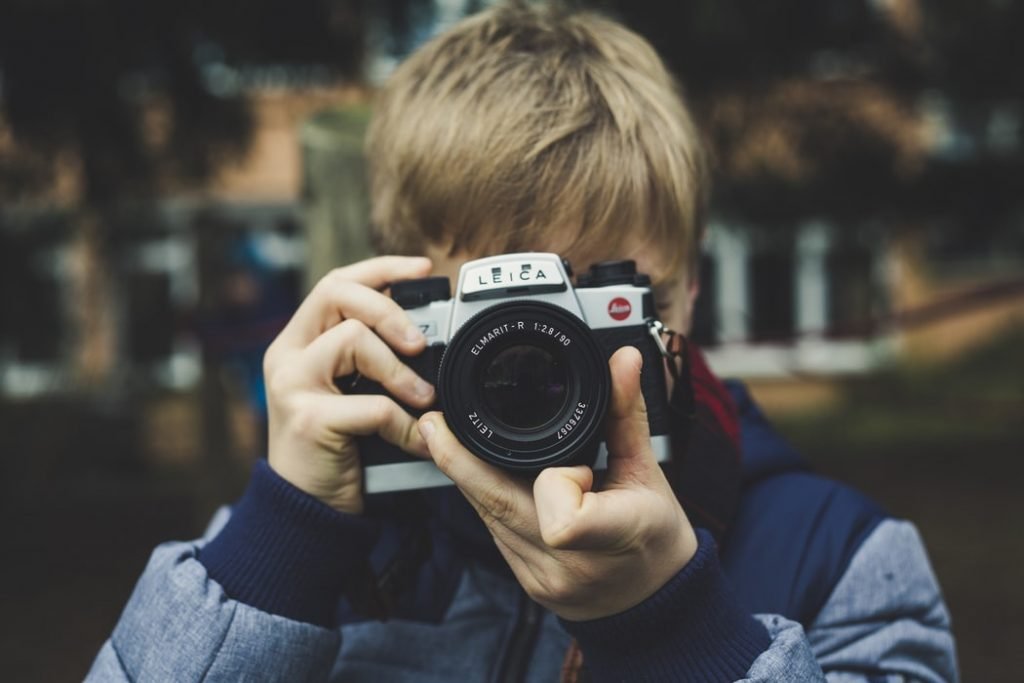
You can use the Aperture, which is denoted as ‘f’ on your camera’s manual setting, to add a unique dimension to your photographs called ‘depth of field’. It refers to the area captured in the image that surrounds the focal point (or area of focus) of the subject. This focal point remains in focus at all times.
Using a wider aperture (lower f-number) will give you brighter images but with a narrow depth of field while using a narrower aperture (higher f-number) will take in less light but have a wider depth of field.
Portraits or even macro photographs look best with a more isolated focus on the subject and a narrower depth of field, while landscapes require a wider DOP to keep the entire frame in focus. Aperture also helps control the lack or abundance of light in your environment. For example, if the surroundings of your subject are too bright then a narrower aperture would help dim down the picture, while a darker environment will require you to expose your lens to more light.
Shutter Speed:
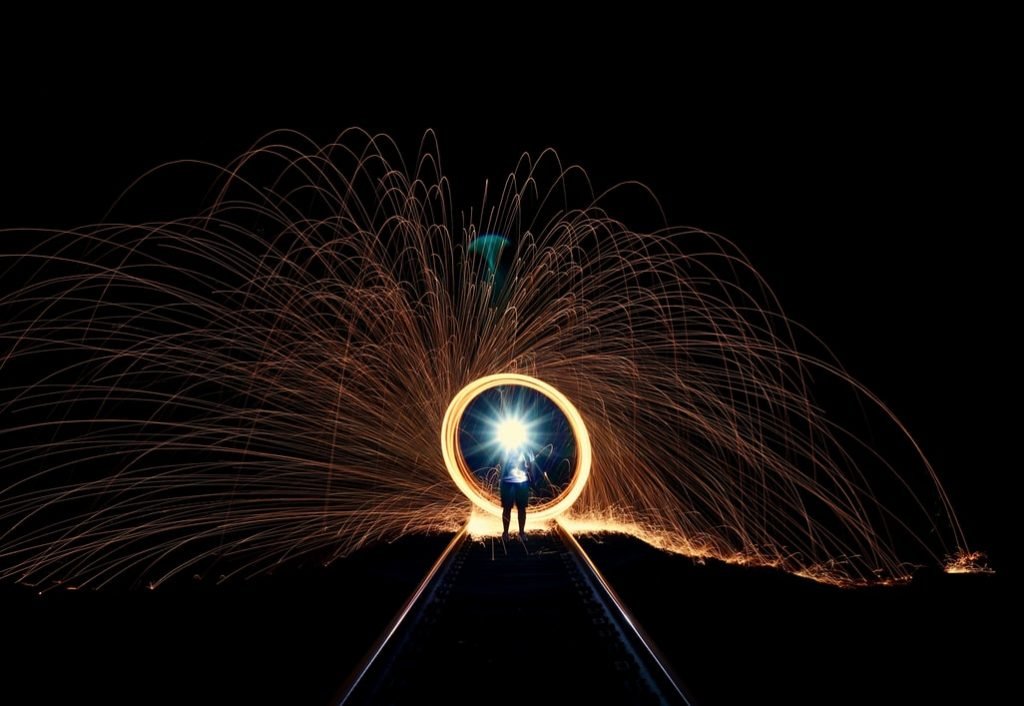
The shutter speed may be the most essential element of the exposure trio. It is the span of time in which the shutter of a camera is open to allow light to enter and hit the sensor. This span of time is calculated in a fraction of seconds and makes a crucial contribution to the final result of the images captured.
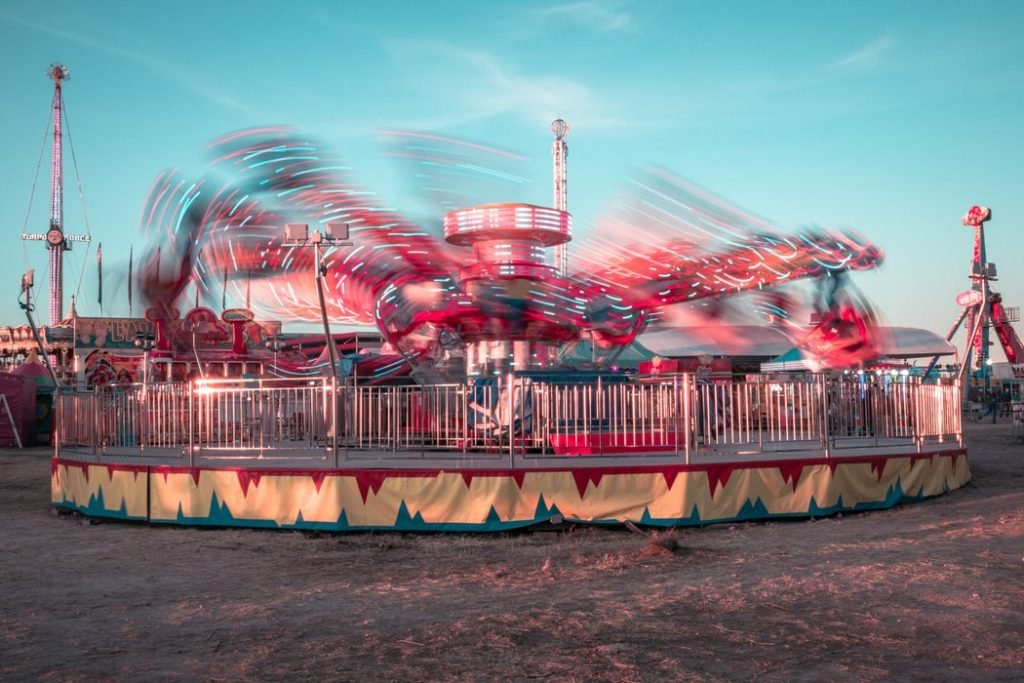
On using a longer shutter speed (meaning the camera shutter would be open for a longer period of time) you will be able to create motion blur or a blurry effect along the direction of a moving subject. You may notice how often in sports car magazines, they show a blurry effect behind the wheels to indicate speed.
With a slow enough shutter speed, you will be able to capture the stars or even the Milky Way at night as a faster shutter speed is meant to freeze motion. You can capture any fast-moving subject including birds in flight or fast cars.
So to understand shutter speed all you need to do is remember that quicker shutter-speeds can freeze action while longer ones can create a trail of motion. When you use your camera’s manual mode or shutter priority mode, you can see the shutter speed measured in fractions of a second, for example; ¼ equals a quarter of a second while 1/125 is a hundred-and-twenty-fifth of a second.
More well-equipped cameras can have faster shutter speed up to 1/8000th of a second. Also, another important aspect of shutter speed is that it determines the amount of time the light is hitting the sensor. So, the longer that amount of time, the brighter the picture. A shorter span of time used in exposing the sensor would capture a darker picture.
Remember that if you don’t use just the right speed in closing the shutter, your picture may either look burnt (over-exposed) or dark (under-exposed).
ISO:
The third most important pillar of the exposure triangle is the ISO, which stands for ‘International Organisation for Standardization’. This doesn’t mean that the ISO on a camera represents an organization, but rather it is a combination of standards called ASA and DIN which were later combined in 1974.
Controlling the ISO basically refers to the sensitivity of the camera sensor to take in light. This means that the ISO can be used to either brighten or darken an image. With an increased ISO number, you will be able to capture images in low light scenarios whereas a lower ISO will prevent your image from getting over-exposed to light.
It is crucial to remember that the ISO setting allows for more flexibility in trying out different aperture and shutter speed combinations, but being completely dependent on it has its drawbacks.
If you use too high an ISO for some images, you may pick up grains in your image also called ‘noise’. Therefore, it should be used only if you are unable to brighten an image using shutter speed or aperture settings.
Some common ISO values or ISO speeds are – ISO 100, 200, 400, 800, 1600, 3200, 6400. The lowest native ISO on your camera is also called your base ISO. It carries the highest potential of your camera to create sharp images.
Although, there are some cameras like the Fuji X-TS that have ISO 200 as its base when on average – most other cameras have ISO 100.
The Importance of White Balance
Whether we take a picture or see a gorgeously lit scenario, our eyes are able to comprehend the beauty that each individual color has in this world. The human eye is much more powerful than we can comprehend as it tells us exactly which is which in the color spectrum. The camera, on the other hand, needs a little help to differentiate between the colors you capture.
Here is where the White Balance comes in to play. It is a feature in your camera that enables you to photograph colors with more accuracy. Colors which our brain is able to comprehend, but our camera cannot are enhanced with the help of white balance.
It is easier to explain this with an example, suppose you enter a room colored yellow, your eyes will be able to separate the other colors in the room while the camera may mistake it as other shades of yellow.
You can say that the Digital Camera is smart but not as smart as the human eye, yet! Maybe someday we will have cameras that can capture all colors as accurately as the human eye, but for now, we have the ‘White Balance’.
Light has millions of different colors that have different temperatures. Differently temperate light will create varying color hues in your image. The scale used for measuring light temperature is the Kelvin scale.
Different temperatures of light are suitable for showing lighting in diverse situations and settings. Lower Kelvin temperatures like 2000 – 4000K carry a reddish-orange light and as this temperature increases to around 6000-10,000K, the light becomes bluer.
Most digital cameras have a built-in sensor that is able to differentiate and determine temperatures in an image. Photographers use a setting called AWB (Auto White Balance) that lets the sensor make the right selection of color temperature.
This feature is usually very accurate but in the event that there is a large block of color in the picture, like a big blue car or a woman in a bright red dress, then the camera may compensate for this excess color by increasing blue or green hues in the image. This is when you can use pre-sets like Fluorescent lights, Daylight, Tungsten, or cloudy, to set the right tone of the image.
Elements of Composition
In photography or any other form of art, even if you have the best lighting, subject, background, or scenario, there is still this one element that can either make or break the image you wish to produce. It is called – the Composition. You can say that composition is the structure, outline, or setting of an image and its subject.
The arrangement of the elements captured in your photograph is essential to creating images that stand apart. You can invest in photography gear or work on your lighting all you want, but at the most fundamental level, it is the composition of a picture that should be focused upon. As a beginner, you can even put your camera on auto and try out different ways to improve upon your composing.
Here are crucial element involved in creating a composition;
- Using Eye-lines: Photographing people have a very crucial element in them – the eyes. A portrait or a picture that focuses on an individual will usually keep its focus on the eyes, as that is where the viewer’s attention is immediately directed to. You can use Eye-lines on the shape of the face to set the direction of focus in the image. When we look at the subject’s eyes we are immediately directed in the direction the eyes are pointed at.
- Placing the Horizon: If you look across the tall buildings, mountains, and vast lands there will always be a horizon. The problem is figuring out where to place this horizon in an image. You may think it’s best to keep the horizon and land in a 50/50 division, but that won’t even put the focus on either.
- Line, Shapes, and Forms: Everywhere you go, anything you see would have lines, shapes, and other elements involved in it. It is the beauty behind imperfection that makes this world filled with a bounty for the photographer. Lines or edges are what give borders to a subject or outline their shape in a composition. Such lines and shapes can also be used to direct a viewer’s eyes in the direction you want them to.
- Power of the Triangle: Triangles may as well be the most powerful shape that ever existed, just look at the pyramids. Using a triangle means using the combined technique of different lines. Triangles create an impression of stability or instability in an image. It again follows the rule of ‘leading lines’ that helps in directing the eyes.
- Visual Weight: Any object has weight. You can tell by just looking at them as well as photographs of them. If you can understand the weight of an object, you can use it in an image to direct more focus on your subject or where you want the attention of the viewer to go. You can use different objects of varying weight to evenly distribute eyes to different portions of your image.
- Balancing a Scene: Symmetry in a composition is the placement of objects with the intent to create a balanced image. Using elements like placement, size, and visual weights in an image to create a balanced composition is a crucial step to becoming a pro photographer. You can also choose to disrupt this balance to show tension in your image.
- Single Point Emphasis: For beginners, focusing on a single subject can be a great place to get your composition game on point. Try focusing on a single subject by breaking down a simple scene and add interest to a particular portion of the image. You can try out ‘single point’ compositions at home or anywhere, as a practice to improve your skills.
- The figure to Ground: Another rule in composing an image is to differentiate between two contrasting color combinations. This method is great for isolating your subject. You can place your subject in an area of your image where its color contests that of it surrounding.
- Golden Ratio: This particular rule is known by many names – golden spiral, Fibonacci Spiral, etc. It is basically a composition guide for the viewer’s eyes. The imaginary spiral is shaped like a DNA strand seen from its interior and has a ratio of 1.618 to 1. The golden spiral indicates placing your subject on the smallest square in your composition and distributing every other object anywhere else on the spiral. The spiral will direct the attention of the viewer to the portion where you want the most attention.
Tips to Create Sharp Images
You don’t need to be an expert to know that sharp images are much more appealing than blurry soft images. Sometimes, when you sit down to check the pictures you have clicked on your laptop and notice that some portions of the picture are out of focus or blurry.
It gets frustrating if you are unable to capture a sharp image of a special moment or a rare instance that you have experienced, and wish to remember. There are, of course, tips and methods you can follow to prevent clicking disappointing images.
- The Right ISO: Set your camera’s ISO to its base setting (lowest ISO, ex; 100, 200 ISO). Remember that the base ISO produces the sharpest images while higher ISOs can result in more noise or grains in your image.
- Hand Holding Rule: In case you are using a zoom lens, then the general hand-holding rule can be applied. The rule implies that your shutter speed should be equally proportional to the focal length of the lens. For instance, if your zoom is set at 125mm then your shutter speed should be 1/125 milliseconds. This will help align the image to prevent blur due to shaking hands.
- Aperture Priority: In lowlight scenarios, you can use the aperture priority mode on your camera’s manual dial. In this mode, you can manually set your aperture and the camera will guess the right shutter speed that can produce the best image. If the light is lacking in a scene, you can set your aperture to the widest diameter which is the lowest f-number, which is usually f/1.4 to f/5.6, depending on the lens.
- The right Shutter Speed: Focus on an image and half-press the shutter, you will be showed the shutter speed on the bottom right or bottom left corner of your viewfinder. It is the amount of time the shutter remains open to allow light to hit the sensor. A slow shutter speed of 1/100 is enough for clicking sharp still images but in case you have a moving subject, you will require a higher Shutter speed to prevent motion blur. Also remember, if you are using a faster shutter speed, you will need a wider aperture or higher ISO to make up for the lack of light.
- Auto ISO: One of the revolutionary advancements in Photography technology is the prevalence of the ‘auto’ mode. This is a very useful feature if you are in a low light scenario where you need a higher shutter speed to capture sharper images, but not enough light sensitivity to record that image. Using the ‘Auto ISO’ mode you can use a higher shutter speed while your camera automatically adjusts your ISO for more brightness.
- Hand-Held Stance: The way you hold your camera creates a direct relation between your shutter speed and blurry images. Using longer shutter speeds would increase blurry motions in your image as the camera factors in body movements like breathing, stance or handheld technique. It is best recommended to hold your camera like a rifle, with one foot ahead of the other – distributing your body weight evenly. You can also use a special technique by bringing your elbows closer to your chest, to prevent blur.
- VR Lenses: Many consumer lenses for DSLRs have this special feature called VR or Vibration Stabilization. It is a specialized anti-shake/anti-vibration technology that enables shooting at slower shutter speeds without much motion blur. You can enable Auto ISO settings with a minimum shutter speed of 1/50 and still get sharp results.
There is nothing more satisfying than capturing and framing a picture you can be proud of. Creating outstanding images doesn’t have to be complicated. You can easily buy the best camera but learning photography is way more than that. If you understand the basics, you are good to go.
Start snapping pictures on a regular basis and eventually you will begin to notice the difference in quality. If at any point in time you feel a bit confused or lost, don’t hesitate to brush up on the basics and quickly get back in the game. A true pro-photographer knows all the basics by heart and thrives to improve on them.
Happy Clicking!
People Also Read:
